Setting up your own Mastodon server in 2026 feels a lot like planting a flag on the internet. You own your data, your community rules, and your timeline. No algorithms shaped by ad revenue. No corporation deciding what you see. For tech enthusiasts and privacy advocates, it’s the ultimate move toward digital independence. The process isn’t as hard as you might think, and this guide will walk you through every step.
Self-hosting a Mastodon server gives you full control over your social presence. You need a domain name, a VPS with at least 4GB RAM, and comfort with the command line. The official installation uses Docker Compose for consistency. After setup, you must configure email, SSL, backups, and moderation tools. Expect ongoing maintenance but gain a powerful, private community space.
Why Host Your Own Mastodon Server?
Running your own instance is not for everyone. But if you are the kind of person who enjoys tinkering with Linux servers, or if you want a safe online space for a community, this is a rewarding project. You get:
- Full ownership of your content and user data.
- Freedom to set your own moderation policies and character limits.
- Direct connection to the Fediverse, with no central authority.
- Bragging rights among your privacy-minded friends.
Before you jump in, consider the responsibilities. A Mastodon server requires regular updates, backups, and monitoring. If that sounds like a fun weekend project, keep reading.
What You’ll Need Before You Start
Gather these components before you touch a terminal:
- A registered domain name. For example,
social.yourname.comormastodon.yourgroup.org. No subdomains of existing social platforms. - A virtual private server (VPS). Choose a provider like DigitalOcean, Linode, or Hetzner. Minimum specs: 2 CPU cores, 4GB RAM, 50GB SSD storage. For a small personal instance, that is enough. For dozens of active users, scale up.
- A mail server or transactional email service. Mastodon sends confirmation and password reset emails. Services like Mailgun, SendGrid, or Amazon SES work well.
- Basic comfort with the command line. You will SSH into the server, edit configuration files, and run Docker commands.
- About two hours of uninterrupted time. Installation is straightforward once you have everything ready.
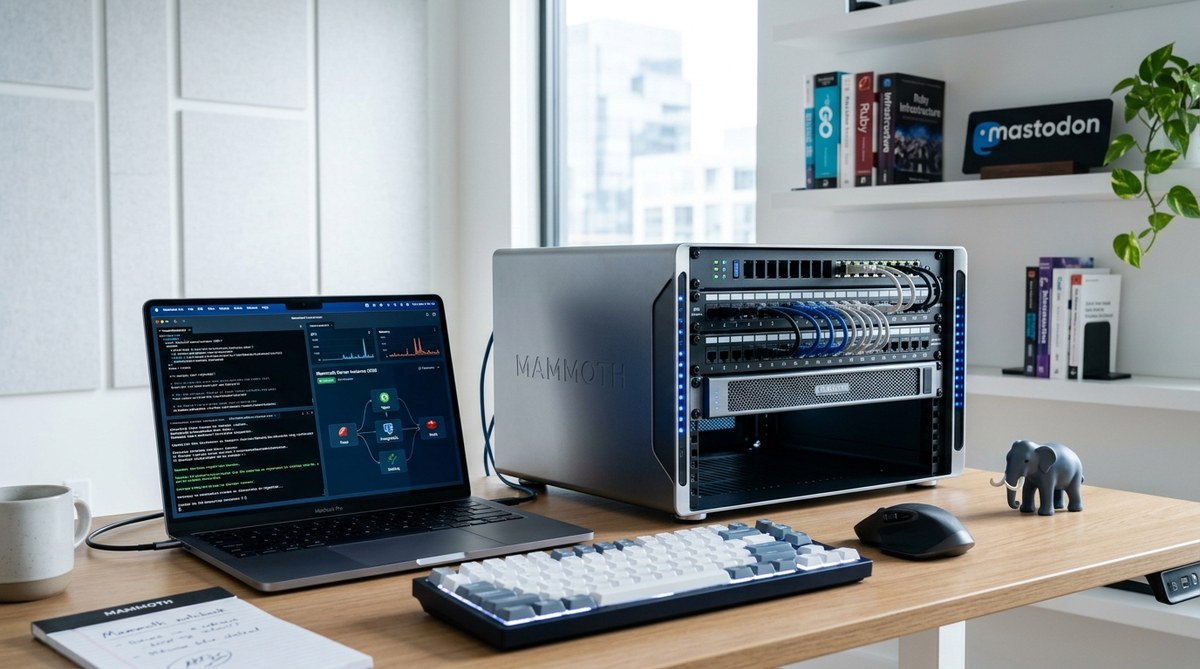
You can also use a managed Mastodon hosting provider like getmammoth.app to skip the server setup entirely. This guide is for those who want to do it themselves.
Step-by-Step Guide to Setting Up Your Mastodon Server
Follow these steps in order. Commands are shown for a typical Debian/Ubuntu system.
Step 1: Provision Your VPS and Secure SSH Access
- Create a new server with Ubuntu 24.04 LTS (or the current stable release).
- Add a non-root user with sudo privileges:
bash

    sudo adduser mastodon

sudo usermod -aG sudo mastodon - Disable root login and password authentication in
/etc/ssh/sshd_config. Restart SSH. - Update the system:
sudo apt update && sudo apt upgrade -y.
Step 2: Install Docker and Docker Compose
Mastodon’s official installation now uses Docker Compose for consistency. Run:
sudo apt install docker.io docker-compose-plugin -y
sudo systemctl enable docker
sudo usermod -aG docker $USER
Log out and back in for group changes to take effect.
Step 3: Set Up the Directory Structure and Configuration
- Create a directory for Mastodon:
mkdir ~/mastodon && cd ~/mastodon - Download the default
docker-compose.ymland.env.productionfrom the official Mastodon repository. - Edit
.env.productionwith your domain, email service credentials, and secret keys. Generate secrets usingopenssl rand -hex 64forSECRET_KEY_BASE,OTP_SECRET, andVAPID_PRIVATE_KEY.
Step 4: Launch the Services
Run the following commands in order:
docker compose run --rm web bundle exec rake db:migrate
docker compose up -d
Wait a minute, then check docker compose ps to ensure all services (web, streaming, sidekiq, db, redis) are running.
Step 5: Configure a Reverse Proxy with Nginx and SSL
- Copy the provided
nginx.conffrom the Mastodon repository to/etc/nginx/sites-available/mastodon. - Edit the file to point to your domain and your Mastodon container (typically
localhost:3000). - Enable the site:
sudo ln -s /etc/nginx/sites-available/mastodon /etc/nginx/sites-enabled/ - Obtain an SSL certificate using Certbot:
sudo apt install certbot python3-certbot-nginx && sudo certbot --nginx -d yourdomain.com
Step 6: Set Up Email and Background Jobs
Configure your email provider in .env.production. Then restart the services:
docker compose restart
Test email delivery by creating an account on your new instance. You should receive the confirmation email within a few minutes.
Step 7: Create an Admin Account and Finalize
- Run the command to create a user with admin privileges:
bash

docker compose run --rm web bundle exec rake mastodon:admin:create - Follow the prompts to set username, email, and password.
- Log in at
https://yourdomain.com. Go to Preferences > Administration to configure server rules, appearance, and moderation settings.
Common Setup Mistakes (and How to Fix Them)
| Mistake | Symptoms | Fix |
|---|---|---|
| Missing VAPID keys | Push notifications fail | Regenerate keys and update .env.production, then restart |
Incorrect domain in .env.production |
Emails link to localhost or broken URLs | Double-check the LOCAL_DOMAIN line, it must match your SSL certificate domain |
| Firewall blocks ports 80/443 | Cannot reach the server from outside | Open ports in your VPS firewall using sudo ufw allow 80 and sudo ufw allow 443 |
| Out of disk space on small VPS | Background jobs fail, database corruption | Monitor disk usage with df -h, increase volume or clean old media using tootctl media remove |
| Wrong Nginx proxy settings | White screen or 502 Bad Gateway | Ensure proxy_pass points to http://127.0.0.1:3000 and that the Mastodon container is running |
Day-to-Day Maintenance Tips
- Backup everything. Use
docker compose exec db pg_dump -U postgres mastodon_production > backup.sqldaily. Store backups off-server. - Update regularly. Pull the latest Mastodon image, then run
docker compose pull && docker compose up -d. Check for breaking changes in the release notes. - Monitor logs.
docker compose logs --tail=50 -fshows real-time output. Watch for errors in sidekiq. - Moderate actively. Set up moderation tools and appoint co-admins if your instance grows.
- Trim media. Run
tootctl media remove --days=30weekly to reclaim storage.
“I have been running a personal Mastodon server for two years. The most important lesson is to automate backups from day one. Also, do not skip the email configuration. Without working email, you cannot recover lost passwords or verify new users.” — Alex, a veteran self-hoster.
Alternatives to Full Self-Hosting
If you like the idea but want less overhead, consider managed hosting. Services like getmammoth.app handle the server, updates, and backups while you focus on your community. This gives you the same ownership of your data without the late-night SSH sessions. For many privacy advocates, that is the sweet spot between control and convenience.
For those who still want to build from scratch, the steps above are solid. But keep learning. Mastodon’s ecosystem evolves quickly. Read up on the latest features in Mastodon 4.3 or see how decentralized social media is changing online communities to stay ahead.
Your Community Awaits
Setting up a Mastodon server in 2026 is a practical way to take control of your social internet. The process requires a bit of patience and a willingness to learn, but the reward is a digital home that belongs to you. Start small. Invite a few friends. Watch your little corner of the Fediverse grow. You have the guide; now go build your server.