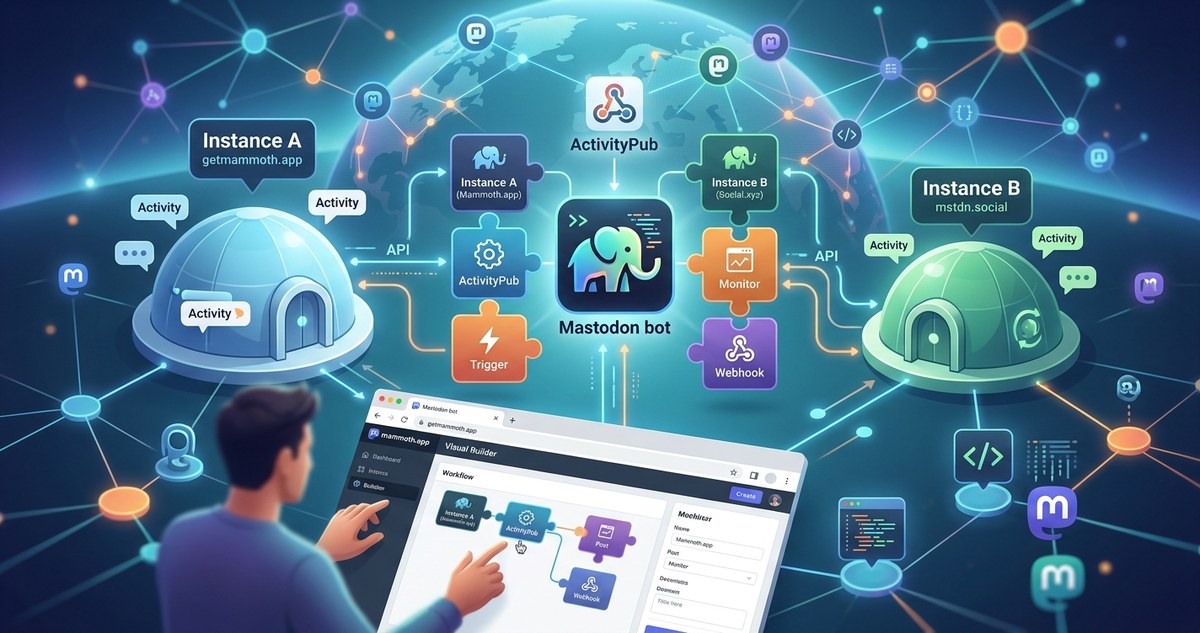
You run a Mastodon instance. You also keep an eye on a few other communities across the fediverse. Manually switching accounts to cross-post or aggregate content gets old fast. You want a bot that can bridge these worlds without asking you to babysit a server at 2 AM.
Good news. You can build a Mastodon cross-instance bot without touching a server. No VPS setup. No cron jobs. No DevOps headaches. This tutorial walks you through a serverless approach that handles authentication, posting, and scheduling across multiple instances using free or low-cost tools.
You can automate cross-instance interactions on Mastodon using serverless functions and API tokens. This tutorial covers setting up a bot that posts to multiple instances, aggregates content from different timelines, and runs on a schedule without any server infrastructure. The whole stack uses tools like GitHub Actions, Python scripts, and the Mastodon API. No DevOps required.
What a Cross-Instance Bot Actually Does
A cross-instance bot interacts with more than one Mastodon server. It might:
- Cross-post the same message to your account on mastodon.social and your account on a niche instance like techhub.social.
- Aggregate posts from a specific hashtag across multiple instances and repost them to a central account.
- Mirror content from a community on one instance to a community on another.
These bots use the Mastodon API to authenticate, read timelines, and post statuses. The challenge is managing multiple OAuth tokens and keeping the bot running without a dedicated server.
Why Serverless Works for Mastodon Bots
Serverless platforms run your code on demand. They cost nothing for low-volume tasks. They handle scaling, uptime, and security patches for you. For a bot that posts a few times a day or checks timelines every hour, serverless is perfect.
You avoid:
- Installing and updating software packages.
- Monitoring disk space and memory.
- Dealing with SSL certificate renewals.
- Paying for idle server time.
The tradeoff is that serverless functions have execution time limits. Most Mastodon bot tasks finish in seconds, so this rarely matters.
The Tools You Will Need
Here is the stack for a serverless Mastodon cross-instance bot in 2026.
| Component | Purpose | Example |
|---|---|---|
| Python script | Handles API calls and logic | Mastodon.py library |
| GitHub repository | Stores code and configuration | Private repo with secrets |
| GitHub Actions | Runs the script on a schedule | cron trigger every 6 hours |
| Mastodon API tokens | Authenticates each instance | OAuth tokens per account |
| Environment variables | Stores secrets securely | GitHub Secrets panel |
This stack costs nothing. GitHub Actions gives you 2,000 free minutes per month. A simple bot uses maybe 10 minutes.
Step-by-Step Setup
1. Create Application Tokens for Each Instance
Each Mastodon instance treats your bot as a separate application. You need to register the bot as an app on every instance it will use.
- Go to your Mastodon instance settings. Find the Development section. Click “Your applications.”
- Create a new application. Give it a name like “cross-instance-bot.” Set the redirect URI to
urn:ietf:wg:oauth:2.0:oob. - Copy the client key, client secret, and access token. Store them somewhere safe.
- Repeat for every instance your bot will touch.
If you manage a large number of instances, consider using a dedicated user for the bot on each server. This keeps your personal account separate.
2. Write the Python Bot Script
Create a file called bot.py in your GitHub repository. This script will use the Mastodon.py library to authenticate and perform actions across instances.
from mastodon import Mastodon
import os

def post_to_instance(instance_url, client_id, client_secret, access_token, message):
    mastodon = Mastodon(
        client_id=client_id,
        client_secret=client_secret,
        access_token=access_token,
        api_base_url=instance_url
    )
    mastodon.status_post(message)

def aggregate_hashtag(instance_url, client_id, client_secret, access_token, hashtag):
    mastodon = Mastodon(
        client_id=client_id,
        client_secret=client_secret,
        access_token=access_token,
        api_base_url=instance_url
    )
    results = mastodon.timeline_hashtag(hashtag, limit=5)
    return results

if __name__ == "__main__":
    # Example: cross-post a message
    message = "Hello from the cross-instance bot!"
    post_to_instance(
        os.environ["INSTANCE_1_URL"],
        os.environ["INSTANCE_1_CLIENT_ID"],
        os.environ["INSTANCE_1_CLIENT_SECRET"],
        os.environ["INSTANCE_1_ACCESS_TOKEN"],
        message
    )
    post_to_instance(
        os.environ["INSTANCE_2_URL"],
        os.environ["INSTANCE_2_CLIENT_ID"],
        os.environ["INSTANCE_2_CLIENT_SECRET"],
        os.environ["INSTANCE_2_ACCESS_TOKEN"],
        message
    )
This script reads credentials from environment variables. Never hardcode tokens in your code.
3. Store Secrets in GitHub
Go to your repository settings. Find “Secrets and variables” and then “Actions.” Add each credential as a repository secret.
INSTANCE_1_URLINSTANCE_1_CLIENT_IDINSTANCE_1_CLIENT_SECRETINSTANCE_1_ACCESS_TOKENINSTANCE_2_URLINSTANCE_2_CLIENT_IDINSTANCE_2_CLIENT_SECRETINSTANCE_2_ACCESS_TOKEN
GitHub encrypts these. Your script can access them at runtime, but they never appear in logs or code.
4. Create the GitHub Actions Workflow
Create a file at .github/workflows/bot.yml in your repository.
name: Run Cross-Instance Bot

on:
  schedule:
    - cron: '0 */6 * * *'  # Runs every 6 hours
  workflow_dispatch:  # Allows manual trigger

jobs:
  run-bot:
    runs-on: ubuntu-latest
    steps:
      - uses: actions/checkout@v4
      - uses: actions/setup-python@v5
        with:
          python-version: '3.12'
      - run: pip install Mastodon.py
      - run: python bot.py
        env:
          INSTANCE_1_URL: ${{ secrets.INSTANCE_1_URL }}
          INSTANCE_1_CLIENT_ID: ${{ secrets.INSTANCE_1_CLIENT_ID }}
          INSTANCE_1_CLIENT_SECRET: ${{ secrets.INSTANCE_1_CLIENT_SECRET }}
          INSTANCE_1_ACCESS_TOKEN: ${{ secrets.INSTANCE_1_ACCESS_TOKEN }}
          INSTANCE_2_URL: ${{ secrets.INSTANCE_2_URL }}
          INSTANCE_2_CLIENT_ID: ${{ secrets.INSTANCE_2_CLIENT_ID }}
          INSTANCE_2_CLIENT_SECRET: ${{ secrets.INSTANCE_2_CLIENT_SECRET }}
          INSTANCE_2_ACCESS_TOKEN: ${{ secrets.INSTANCE_2_ACCESS_TOKEN }}
The workflow_dispatch line lets you trigger the bot manually from the GitHub web interface. This is useful for testing.
5. Test the Bot
Push your code to GitHub. Go to the Actions tab. You should see the workflow run. Click “Run workflow” to test it manually. Check the logs for any errors.
If the bot fails, common issues include:
- Wrong instance URL format (use
https://mastodon.socialnotmastodon.social). - Expired access tokens. Regenerate them from the Mastodon application settings.
- Rate limiting. Mastodon instances limit API calls. Space out your posts.
Common Mistakes to Avoid
| Mistake | Why It Hurts | Fix |
|---|---|---|
| Hardcoding tokens | Anyone with repo access can steal them | Use GitHub Secrets |
| Posting too often | Instance admins may block your bot | Set a reasonable cron schedule |
| Ignoring rate limits | API calls fail silently | Add error handling and retries |
| Using the same token for multiple instances | Tokens are instance-specific | Create separate tokens per instance |
| No logging | Hard to debug failures | Add print statements or log files |
Expert advice: Start with a single cross-post action before adding aggregation or complex logic. Test each component in isolation. Once the basic bot runs reliably, layer in features like hashtag monitoring or follower counting.
Advanced Cross-Instance Actions
Once your basic bot works, you can extend it.
Content aggregation. Pull posts from a hashtag on one instance and repost them to another. Use the timeline_hashtag method to fetch recent posts. Filter out posts you have already shared by storing IDs in a file.
Scheduled announcements. Announce community events across multiple instances. Store event dates and messages in a JSON file in your repository. The bot checks the file and posts only when the date matches.
Cross-instance following. If you manage a bot account, you can follow users from different instances automatically. This helps build a unified feed. Check out our guide on how to set up cross-instance following on Mastodon for a unified feed for more details.
When Serverless Hits Limits
Serverless works for most bots, but not all. If your bot needs to:
- Run continuously (streaming API).
- Process thousands of posts per minute.
- Store large amounts of data.
Then you might need a lightweight server. For the vast majority of hobbyist bots, serverless is more than enough.
Your Bot, Your Rules
Building a Mastodon cross-instance bot without a server is straightforward. You get automation without the operational burden. The fediverse rewards experimentation. A bot that cross-posts event announcements or aggregates interesting content from niche communities adds real value.
Start small. Get the first cross-post working. Then iterate. The decentralized web is still young, and tools like this help bridge the gaps between instances. If you want to learn more about the broader landscape, read about how decentralized social media is changing the future of online communities.
Your bot can run for months without any attention. That is the beauty of serverless. Set it up, test it, and let it do the work while you focus on building your presence across the fediverse.